
Home Brewed Kombucha
If you’ve ever gone to the store and looked at the kombucha section, you have probably seen how many different brands and flavours there are. It can be quite overwhelming! Aside from its refreshing taste, kombucha is an amazing source of probiotics and antioxidants; promoting good gut flora. Kombucha can improve digestion & reduce inflammation, as well as support your immune system. Glucaric acid; present in kombucha, initiates a natural detox within your body, specifically your liver.
With a few simple ingredients and a little patience, kombucha can be easily brewed at home.
First Fermentation
Supplies & Ingredients
(ensure everything is sanitized to avoid bad bacteria growth)
12 cups filtered water
1 cup white sugar
8 tea bags of black or green tea
2 cups starter (any unflavoured kombucha; can be leftover first fermentation kombucha from a previous batch or store bought)
1 SCOBY (store-bought or grow your own)
4L glass jar
Cheesecloth, rubber band or twine
Steps
Boil the water; once boiling remove from heat and stir in the sugar until dissolved.
Add the tea.
Let sit until it reaches room temperature.
Pour the sweetened tea + 2 cups of starter kombucha into the 4L jar.
Add the SCOBY.
Cover the jar with cheesecloth & secure with a rubber band or twine.
Put the jar in a dark room or cupboard where it will remain for 6-10 days (can exceed 10 days).
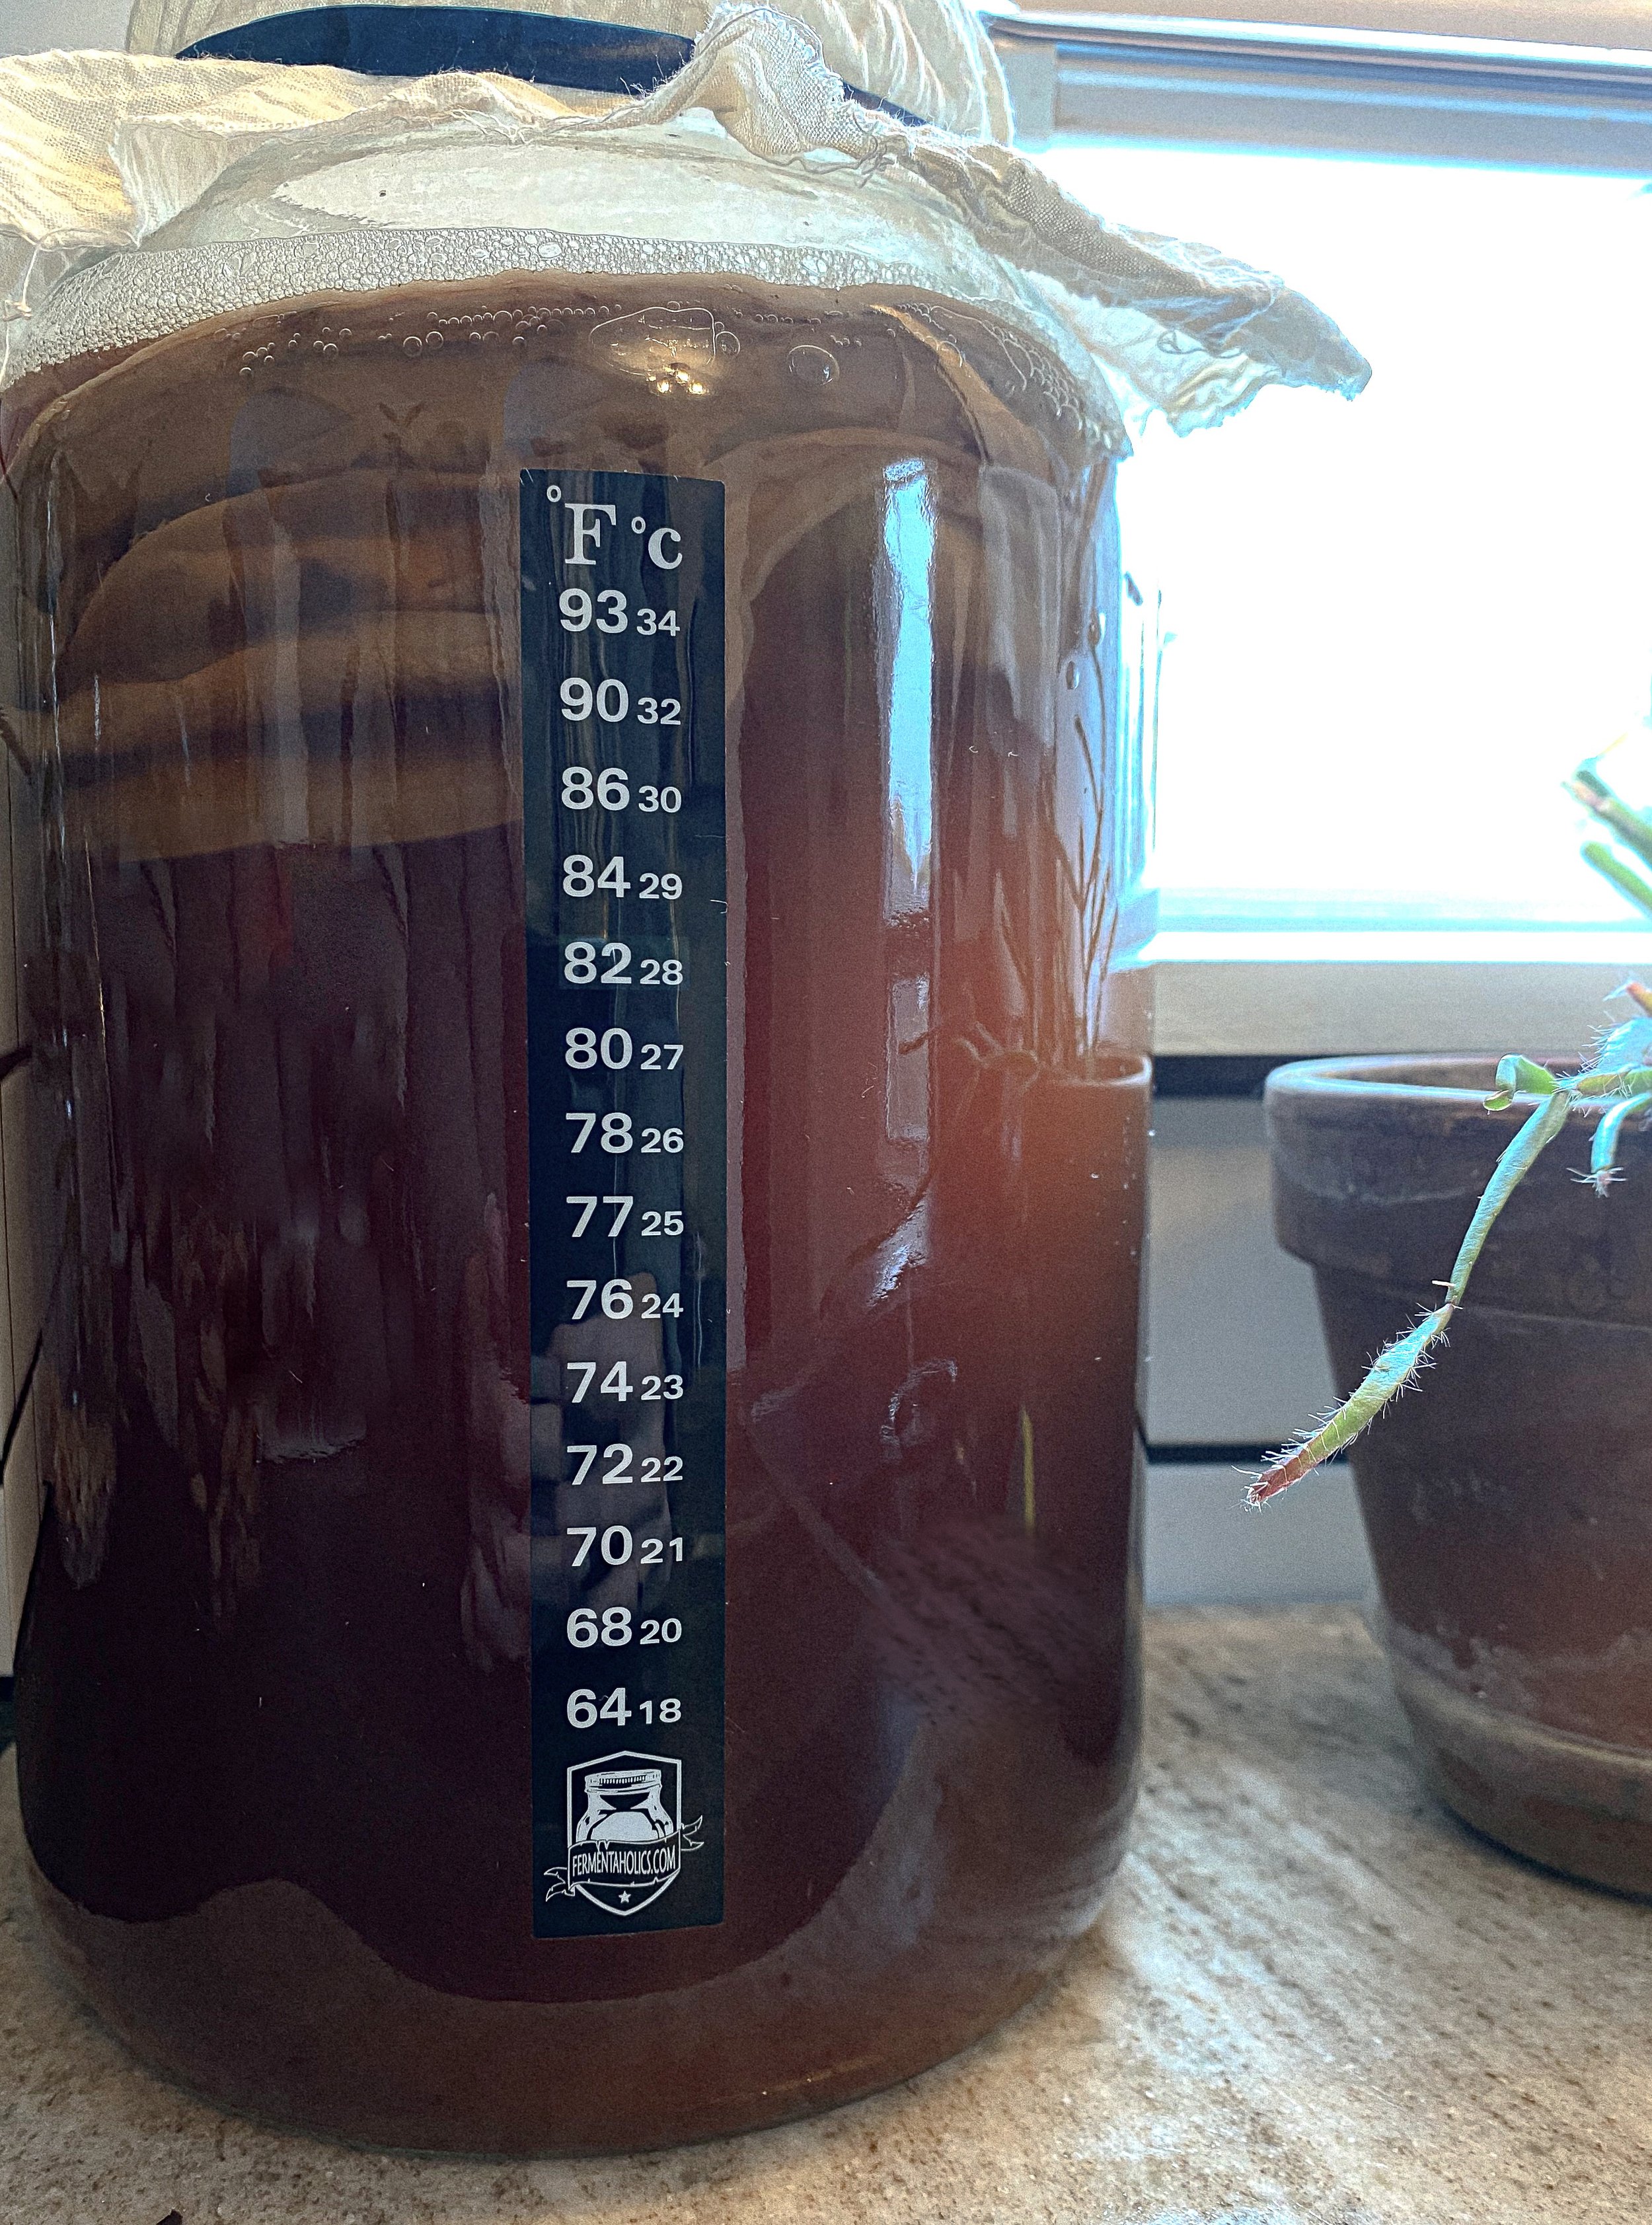
*Ensure that the kombucha doesn’t drop below 70-75F / 21-24C. Starting at day 6, test the kombucha each day until it has a slightly sweet, slightly vinegary taste. As the kombucha ferments, the sugar is eaten up and it will get less & less sweet. Brewing times can vary depending on climate; in Canada (where it’s sooo cold) my kombucha in the winter can take up to double the suggested time. An easy way to speed up the first fermentation and prevent it from dropping below the above recommended temperature is to wrap a heating mat around your jar. Just make sure not to cook your kombucha! Stick on thermometers are a good solution to monitor temperature. (all supplied linked below)
Second Fermentation
The fun part! Turning your kombucha into a flavoured, carbonated drink (this step can be skipped if you don’t want any flavours/carbonation).
Supplies & Ingredients
Kombucha
Sweetener (fruit or honey)
Flip top bottles
Steps
Pour the kombucha into the flip top bottles, straining out any SCOBY pieces.
*remember to leave 2 cups of kombucha in the 4L jar with the SCOBY to either start a new batch, or keep your SCOBY alive until you do so*
Add any fruit/honey that you want.
Put the jar back in a warm, dark place and let sit another 3-10 days.
*Make sure to ‘burp’ your kombucha after a couple days as the carbonation will increase as the days go on and it can explode! When opening, make sure to do so in the sink with a bowl over the top of the bottle just incase.
Strain the kombucha when desired flavour is reached and store in the fridge.
A Couple Flavour Ideas
Mojito Mint: first fermentation kombucha, mint leaves, lime juice & honey
Mango Ginger: first fermentation kombucha, pureed mango, ginger pieces
Pineapple Basil: first fermentation kombucha, pineapple (fresh or canned), basil leaves
Raspberry Lemonade: first fermentation kombucha, raspberries, lemon juice, honey
IMPORTANT
When brewing kombucha it is EXTREMELY important to ensure all supplies are sanitized. While fermenting food/liquids, there is a chance of bad bacteria growing. Always wash your hands and sanitize your supplies; avoid any plastic or wood utensils/containers as these are harder to sanitize.
Keep an eye out for mold throughout the whole process. If any mold is present you will need to discard EVERYTHING and start over.
Your SCOBY will continue to grow - once it reaches about 1 inch in thickness, you can peel off layers of it, keeping some and either starting another jar of kombucha with the rest, or give to family or friends! You can also make fruit leather with extra SCOBY’s, blog to come on this!
Don’t use honey as a substitute in the first fermentation as it can contain bacteria that will grow when the tea is fermenting. It is safer to add honey instead of sugar during the second fermentation as there will be plenty of healthy bacteria present at this point; if brewed correctly.
Decaf tea won’t make very good kombucha as the SCOBY feeds off caffeine.
Let it do its thing! SCOBY’s sometimes float, sink, or start to grow new SCOBY babies. As long as there is no mold, try to leave it alone until it is time to move to the next step.
with care · b.k